There are many reasons that you may want to clone a WordPress website. These can include testing new plugins, trying new themes, or moving your site to a new server.
It’s actually very easy to make a copy of your WordPress site using the plugin Duplicator. The plugin will pack up your uploads, themes, plugins, and most importantly all of your WordPress content.
Here we’ll show you the 5 easy to follow steps to clone your WordPress site using Duplicator.
Reasons to copy a WordPress site:
- Create a staging site to test WordPress changes like themes or plugins
- Move your WordPress site to a new web host/server
- Backup your WordPress site
Video Tutorial
Don’t feel like watching a video?
Here is our full step-by-step guide to cloning your WordPress site:
How to Clone a WordPress site using Duplicator
There are tons of plugins that let you migrate your WordPress site. For this tutorial, we’ll be using Duplicator since it’s simple to use and free.
Need scheduled backups? Duplicator Pro offers drag and drop installs, scheduled backups, cloud storage uploads, and more!
Here are the 5 easy to follow steps to clone WordPress site:
Step 1. Install Duplicator on your WordPress site
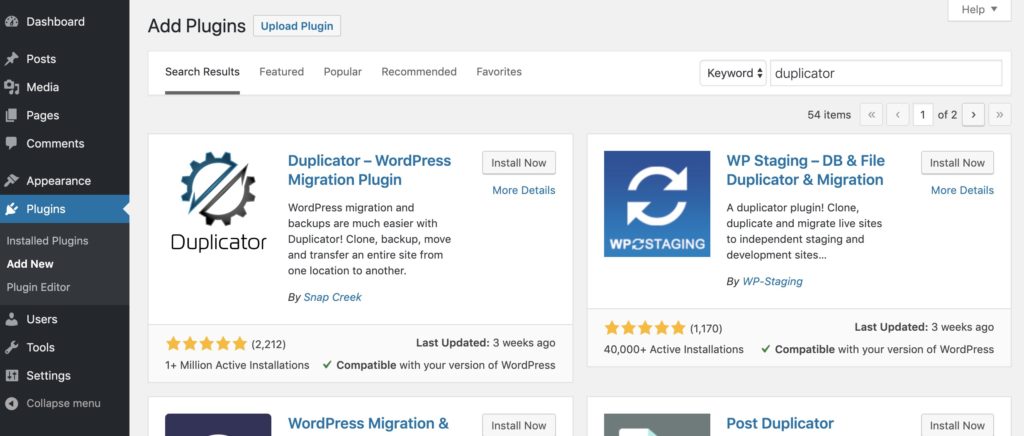
The first thing you’ll need to do is install the Duplicator plugin. This is as simple as logging into your admin dashboard and clicking Plugins>add new on the sidebar. Then search “Duplicator” and it should be the first result (it has over 1+ million active installations).
If you need more help installing Duplicator read our guide to installing WordPress plugins.
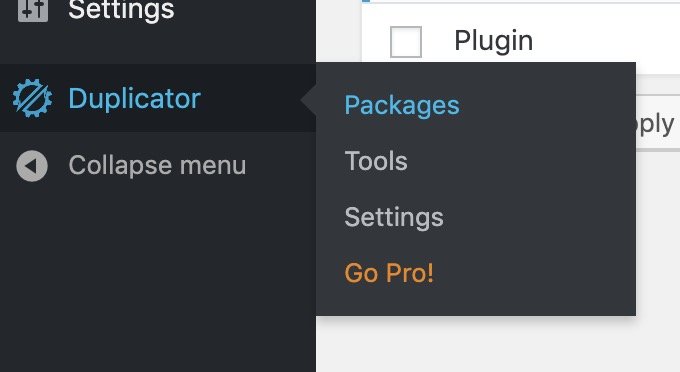
After you install and active Duplicator you’ll see Duplicator in your admin sidebar.
Here you can click packages which will give you options for your site export.
Now let’s going into detail about the site export process.
Step 2. Export the Duplicator package
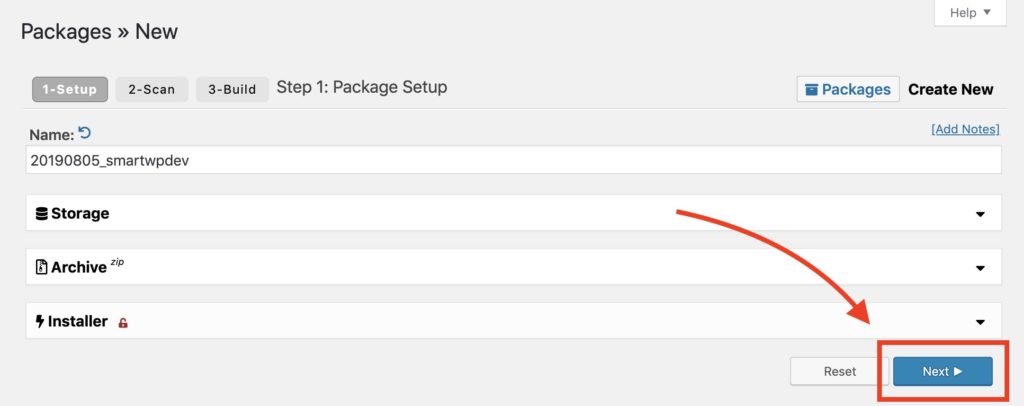
Once on the Duplicator page click “Create New” on the top right to start the export process. The “package” Duplicator will make will include your themes, plugins, media, and content (everything on your site).

Here you’ll have a few options including what is in the export and the name of the package. You most likely won’t need to change any settings so you can just click next.
After hitting next Duplicator will scan your site to see if the export will properly work. If you run into any errors you can email your web host to resolve any issues that may pop up. On our host we didn’t have any issues from the system scan.
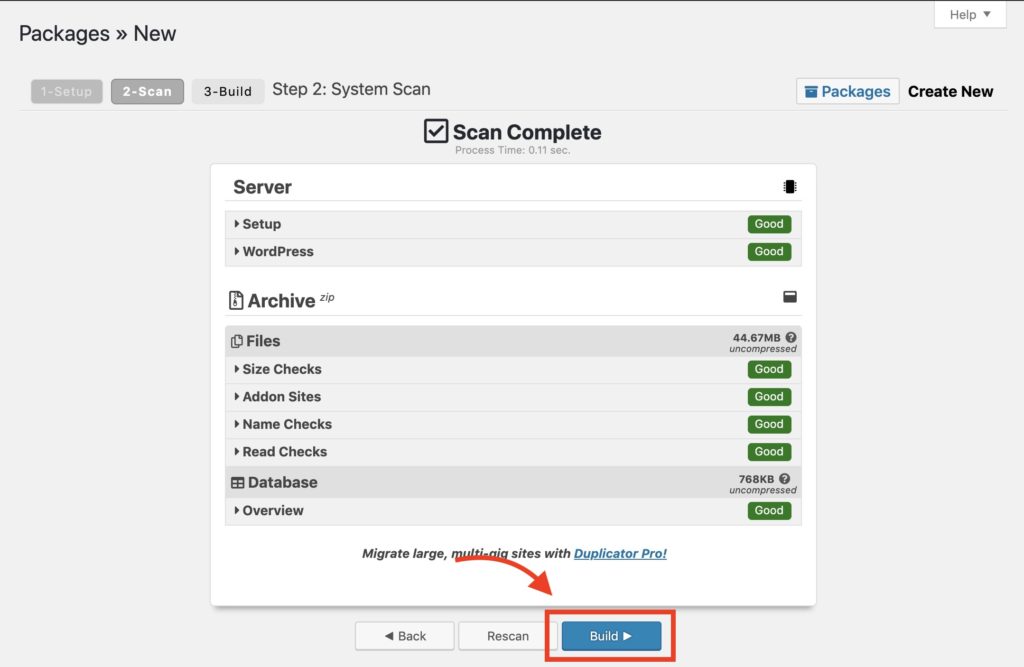
When you click build the site will be compressed into a package. This is a PHP installer file and a zip file that contains all of the WordPress site’s content and files.
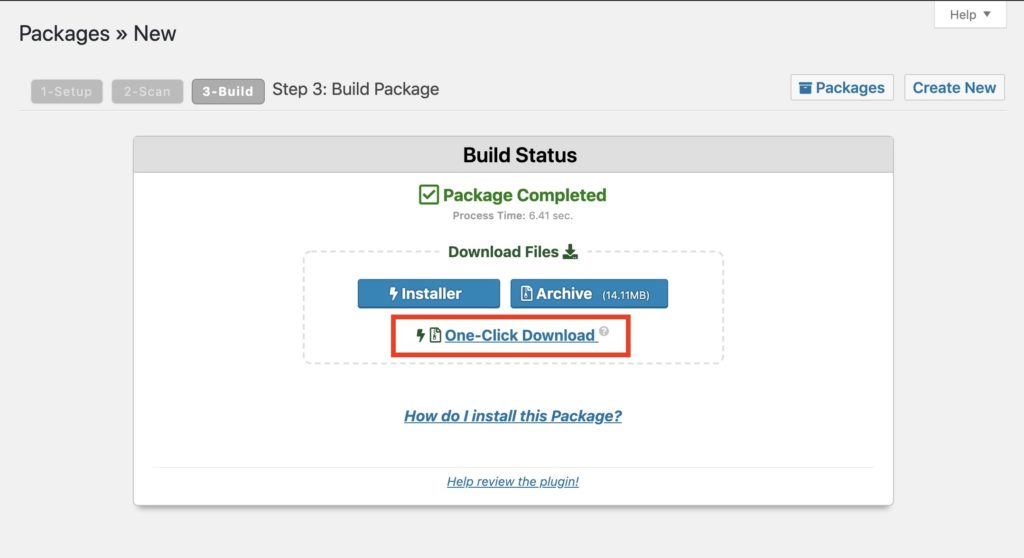
You can download your complete WordPress cloned site by clicking “One-Click Download”. This will give you the PHP file and zip archive.
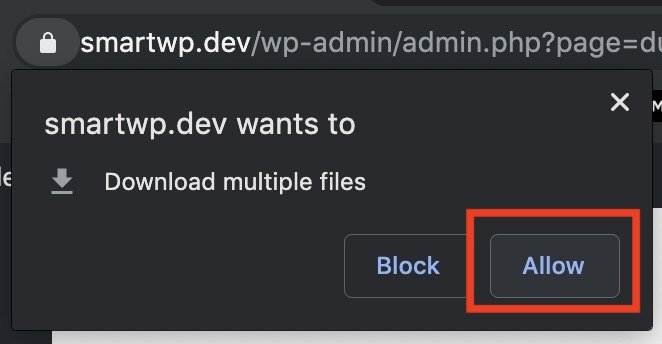
Depending on your browser you may be warned that the site is downloading multiple files. Just click accept if that appears (like it did in Chrome for us).
Now that we have our website packaged up it’s time to more it to our new server.
Step 3. Upload the Duplicator package to your new (or existing) server
To upload your WordPress site clone you’ll need to have access to your site’s FTP. If you are new to FTP you’ll need an FTP client like Cyberduck which is free on Windows/Mac. Typically you can get your FTP login through your web host’s admin page. If you can’t find your FTP login information we recommend emailing your web host and they should be able to walk you through logging in.
Popular FTP clients for WordPress users
- Cyberduck (Free on Windows/Mac)
- Filezilla (Free on Windows/Mac)
- WinSCP (Free on Windows)
- Transmit (Paid on Mac)
In this example, we will be making an FTP account in SiteGround. Most hosting interfaces differ but the functionality should be similar.
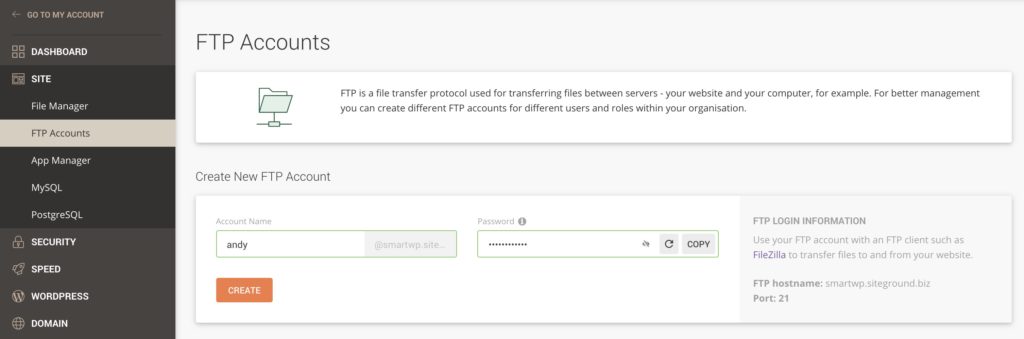
After you create your FTP login note down the username and password and enter it into your FTP client. We will be using the free FTP client Filezilla in this guide.

It’s important to note if your host uses FTP or SFTP, if your login isn’t working it might be because it’s an SFTP login (SFTP is typically common now). This can be changed in the protocol option of your FTP client.
After you are successfully logged into your FTP browse the folders to ensure you’re in the public facing folder. Most hosts call this folder “public_html” or something similar. If you have no folders on your server you are most likely already in the default public folder. If you can’t find your default public folder we recommend reaching out to your web host for the exact path.
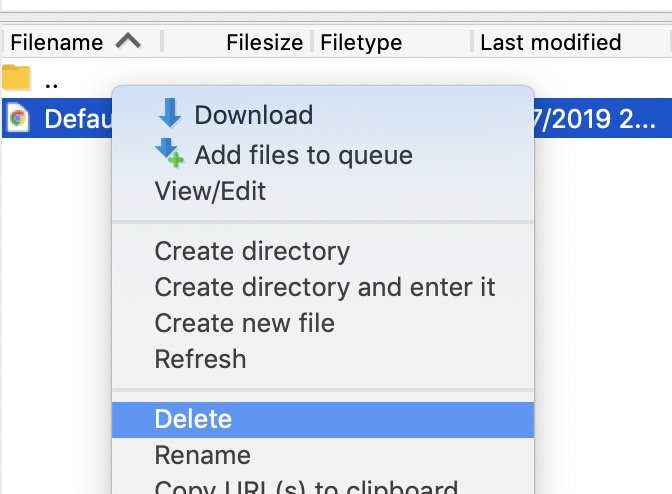
You’ll want to delete any default files in your server as well. You’ll see here that SiteGround adds a default.html file which we won’t need when we import our WordPress site (just be certain you aren’t deleting anything important).
Now that we have a fresh public facing folder we’ll upload our Duplicator zip and Duplicator installer.php file. This can easily be done by dragging the files over into your FTP client.
This could take a few minutes depending on the size of your site. Most FTP clients will tell you the time remaining during the upload.
After the uploads finish you’re ready to move to the next step.
Step 4. Create a new database for the new site
Your new WordPress site will need a new database to run on so you’ll need to create one in your web host’s dashboard. Your host’s interface may look different but the functionality should be similar. If you need help creating a MySQL database you can also email your host for support.
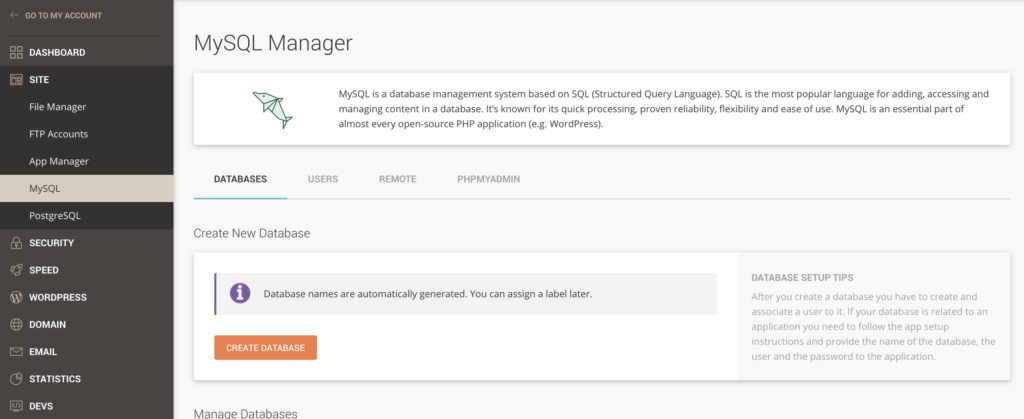
In SiteGround it’s as easy as clicking “Create Database” in their site tools.
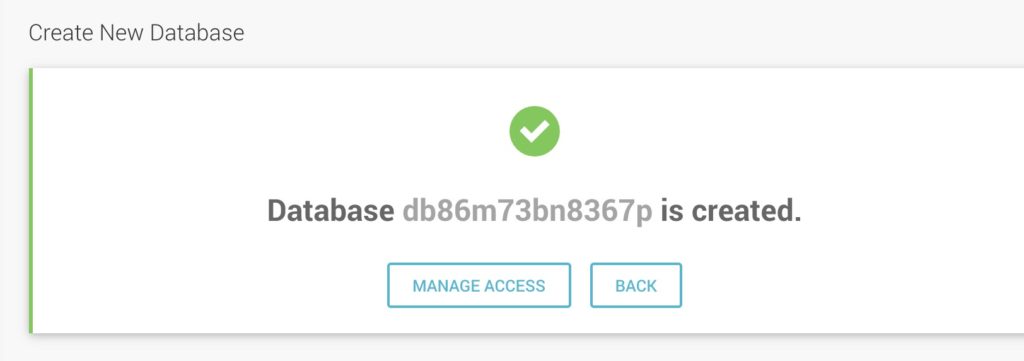
After creating your database you’ll need to add a database user to it. The database holds your content while the user gives it access. This new username and password will be used in the setup process of Duplicator so make sure you keep it handy.
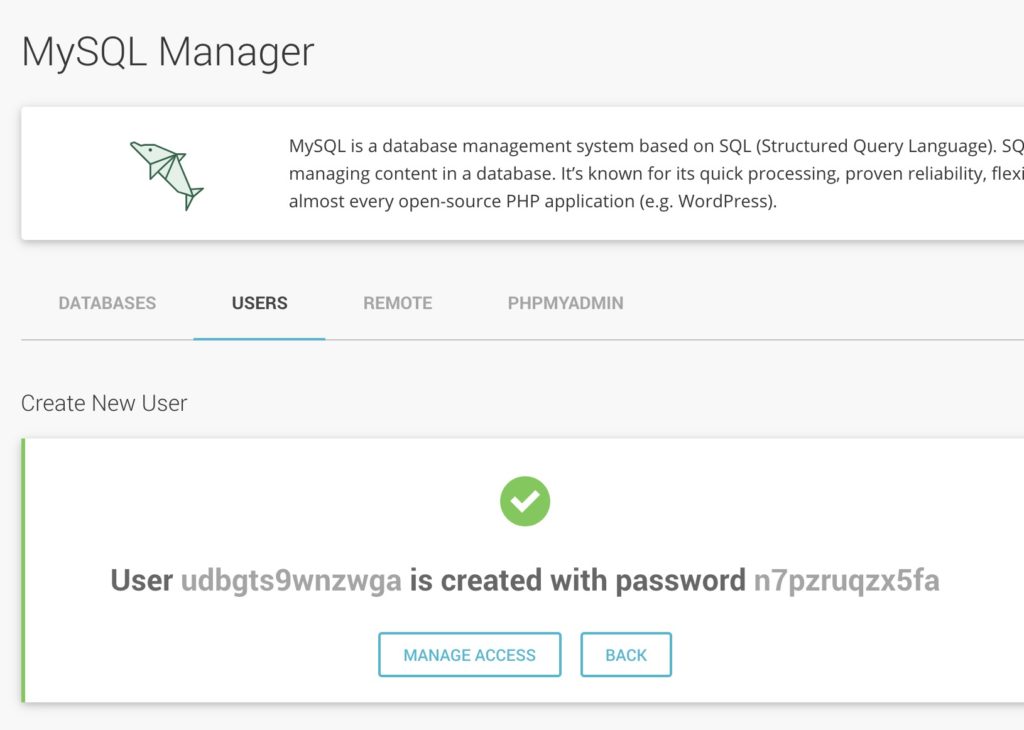
After you make your database user ensure they have access to the new database you created. In SiteGround you simple click manage access and it should automatically select your database if you have one.
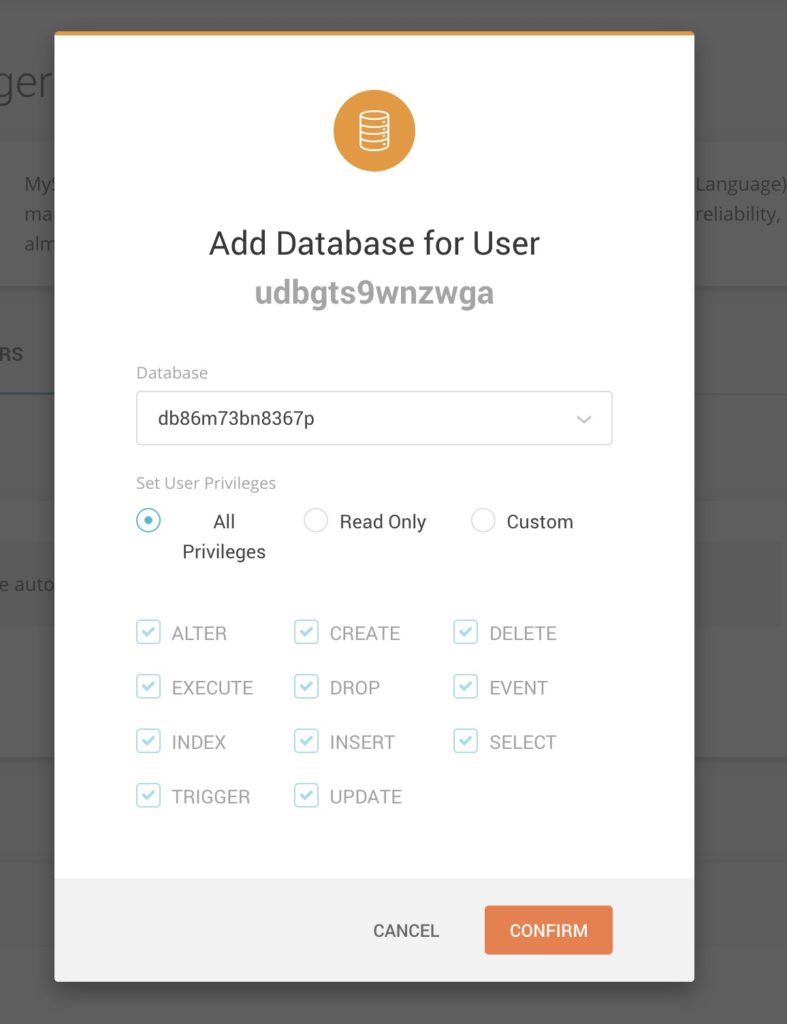
Now that we have a database name, username, and password we can continue to the Duplicator installer.
Step 5. Run the Duplicator installer and finish cloning the website
After adding the files to your server you can access the Duplicator installer by going to yourdomain.com/installer.php. This will run the Duplicator installer which will ask you for your MySQL database details you set up on the previous step.
When you first load the installer it will double-check your hosting environment to see if everything is set up correctly.

Just click the terms and conditions checkbox and you should be able to proceed. If the validation failed, feel free to let us know your issue in the comments and we should be able to help!
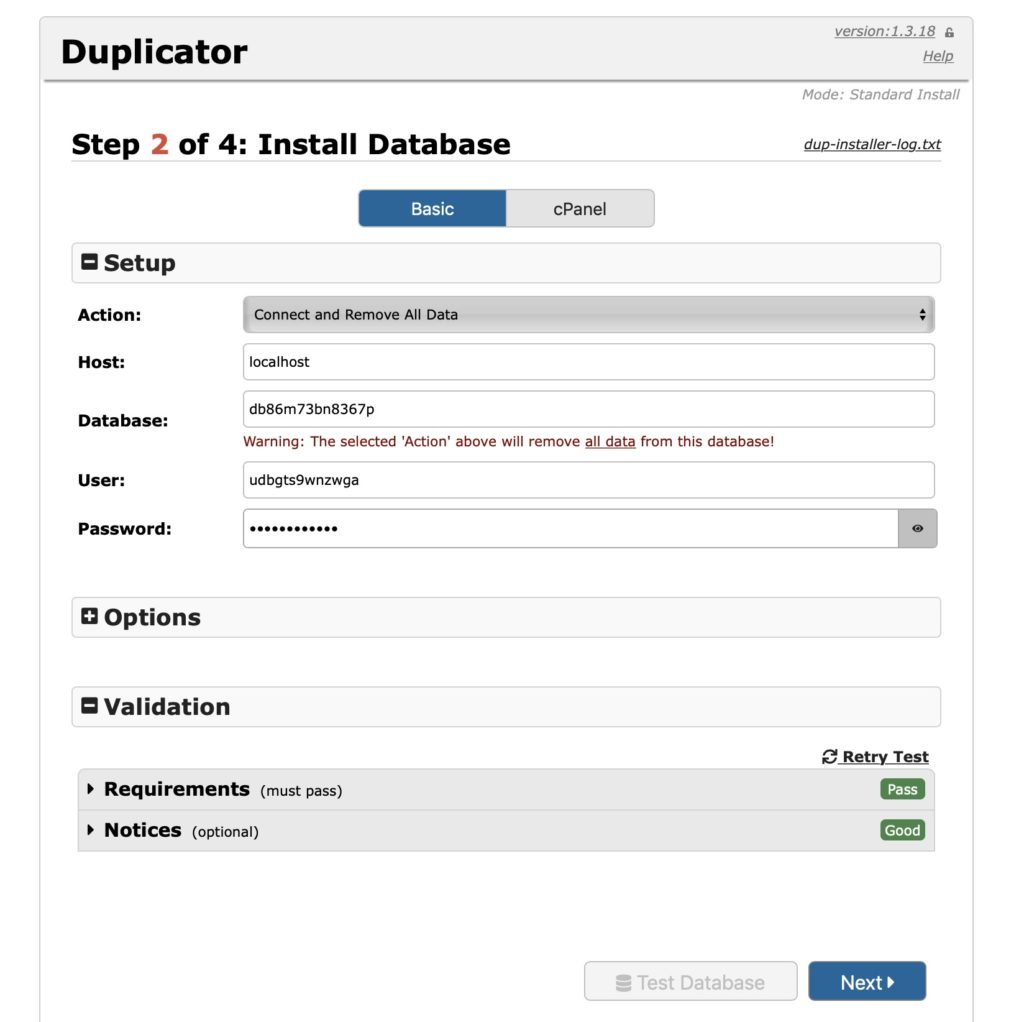
After clicking next you’ll be able to enter the database details we created previously. This includes the database name, username, and password. By default Duplicator will delete what is in the database and add the WordPress content. So be careful if you’re running this on an already existing database.
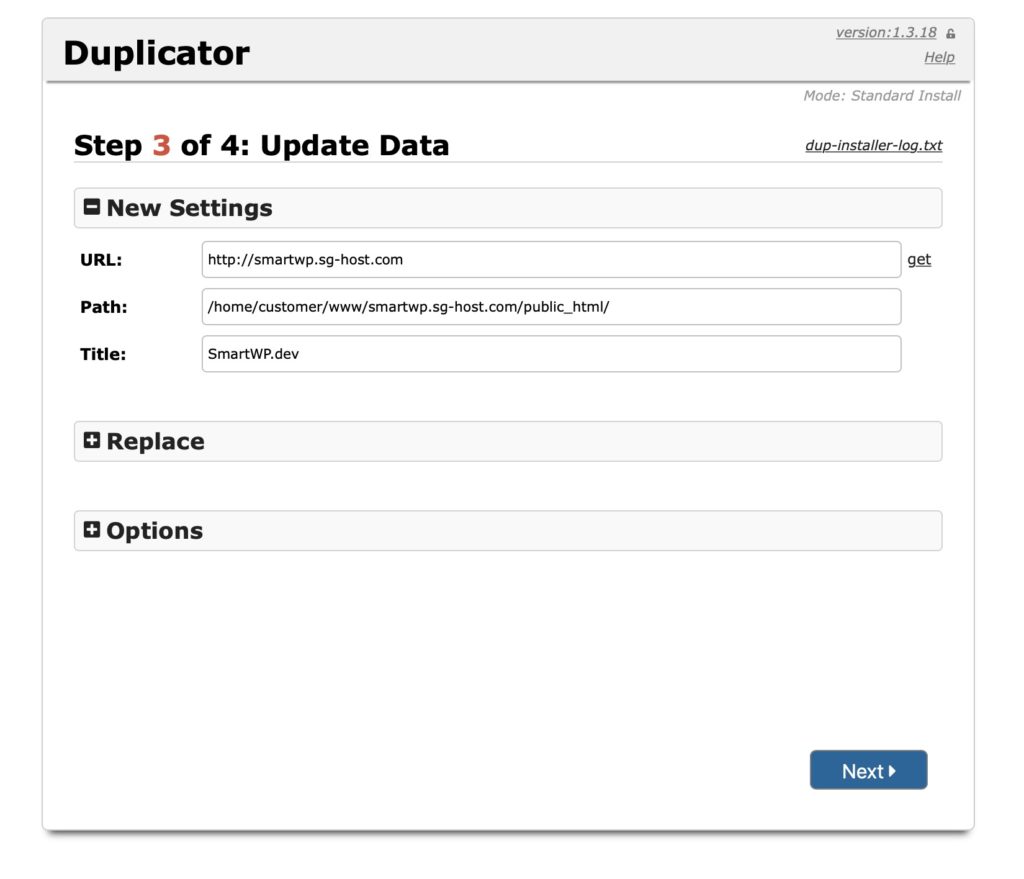
Since you’re most likely moving the site to a new domain the next option will let you select a different URL for the site. By default it will get the correct URL of your new domain so you shouldn’t have to do anything here; especially if it’s a staging site.
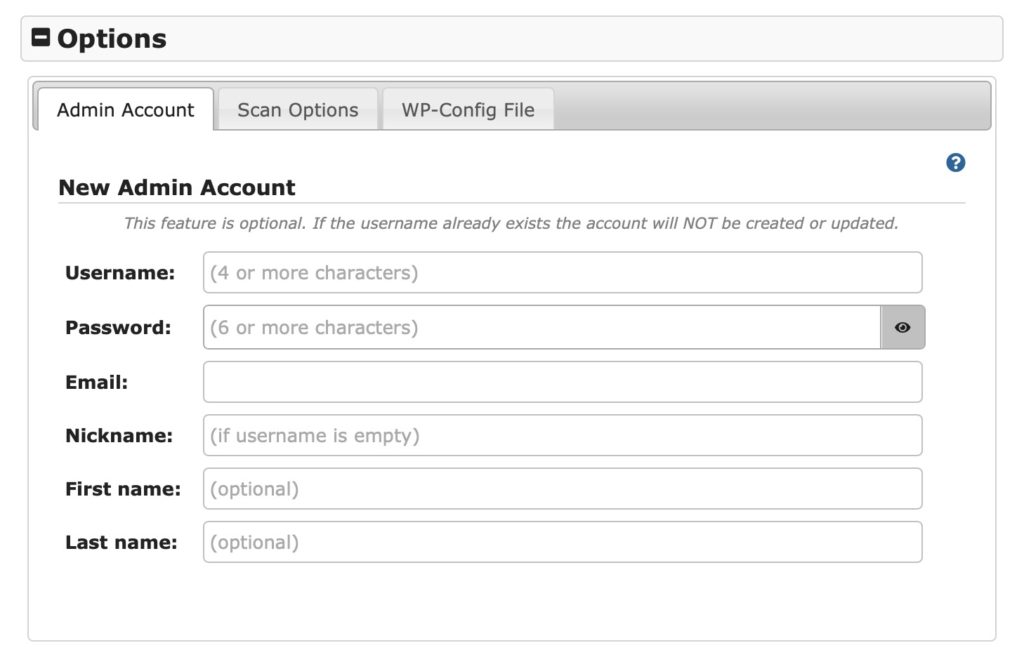
In addition to changing the URLs you can also add a new WordPress admin account. This is useful if you’re cloning a site you don’t know the WordPress login to.
After clicking next Duplicator has successfully cloned your site. It’s extremely important to let Duplicator delete the install files, otherwise, someone else can overwrite your site by using the installer.php file. By default, Duplicator will delete these files but it doesn’t hurt to double-check they are gone in your FTP client.
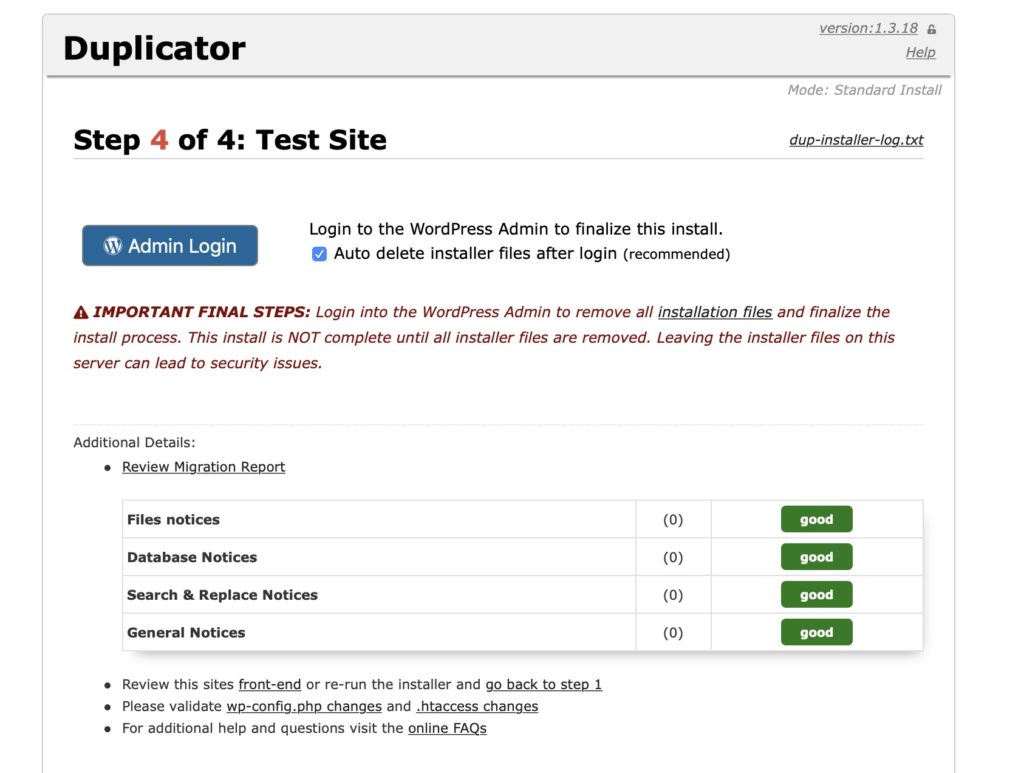
And just like that, you’ve cloned your WordPress site! Just click the “admin login” button and the site should be working as expected.
Note: If you see a blank WordPress site after installing you may need to change your table prefix in wp-config.php. All WordPress databases use a table prefix when storing your site in the database. So if you are migrating to an existing (blank) WordPress install you may need to change this option. You can just go to your original server’s wp-config.php file and see what the table prefix was set to previously and use that variable on your new server’s wp-config.php file
We hope this guide helped you duplicate a WordPress site if you had any issues let us know in the comments.


22 Responses
Thank you so much for the tip ! The plugin is perfect and suits my needs perfectly, great advice, great blog.
Glad it was helpful! you are very welcome
Dear Andy! The best tutorial I have ever found ! Thank you very much ! Thank you!
Hey Andy,
Thanks for this tutorial. I have followed all the steps, but when I go to open the website on the new domain I copied it to, I just get the 2020 theme.
Any idea where I went wrong or what step I might have missed?
Thanks,
Joanne
Hey Joanne, the issue most likely is the table prefix in the wp-config.php file. If you already had a WordPress site setup this will be set to the old prefix. Figure out the table prefix of your copied site and replace it in the wp-config.php file. I'll modify the instructions today as well to take this into account.
Hey Andy, I tried to follow each step, but I can not do login, because wp-login.php doesn’t exist in the directory, so when I checked the website directory, the structure is different, there are not wp-* directories, only index.php, wp-config..php. This is the message:
Not Found
The requested URL was not found on this server.
Apache/2.4.25 (Debian) Server at
This tutorial works like charm 🙂
Thanks Andy, you saved me hours!
all the best
Karesz
Hi Andy,
Im a newbie and its giving me a hell of time trying to set this up, can i pay you so you can clone a website and have it hosted.
Hello
I have used this tutorial five times before, worked like a charm. Absolutely Brilliant!
Now I need to do it for a sixth time and it bombs out. Nothing I do can fix it. I copied the files into my FTP then go to masterglam.co.za/installer.php- at step 1 the response I keep getting is this:
***
Internal Server Error
The server encountered an internal error or misconfiguration and was unable to complete your request.
Please contact the server administrator at [email protected] to inform them of the time this error occurred, and the actions you performed just before this error.
More information about this error may be available in the server error log.
Additionally, a 500 Internal Server Error error was encountered while trying to use an ErrorDocument to handle the request. ***
The people from the server just keep telling me to retry. This message keep popping up though.
Any advice will truly save my life! Pretty Please.
Thanks, Jóni
Same for me
I came, I saw, I Conqered
Damn you’re good!
Question: Does this backup the settings and customizations of the plugins as well?
Nice Tutorial Admin
Thanks for sharing 🙂
Amazing tutorial 🙂
Thanks Andy, you saved me hours too!
all the best
TourUSA
It always gives me hives when I have to deal with mysql and databases, but I followed your directions and I *thought* I had it, but Siteground never gave me a password for the new user. So I’m stuck.
I’d recommend emailing Siteground! Hopefully they can get you the login you need.
Thank you for the great article. I was able to successfully clone my WordPress site following your guide.
Great guide, thank you so much!
Thank you for this detailed article I also wanted to learn about cloning of wordpress websites
Thank so much for this detailed article I also wanted to learn about cloning of wordpress websites
Another happy user here! Thanks for the great tutorial!