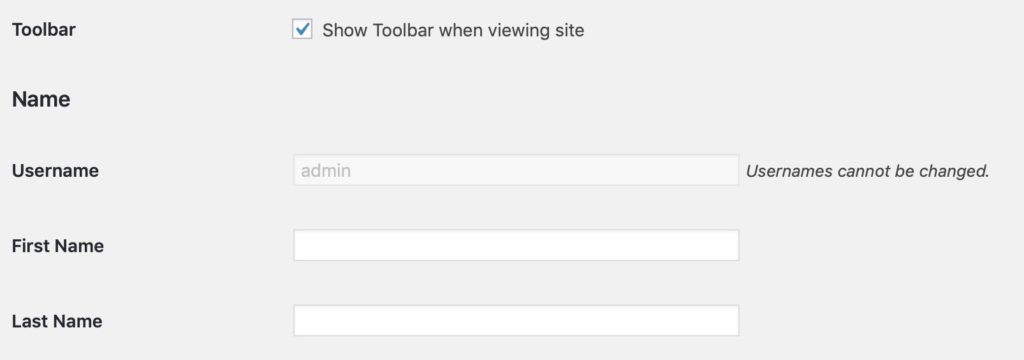
WordPress doesn’t let you change your username through the admin panel. If you’ve tried, you’ve seen the grayed-out field and the message: “Usernames cannot be changed.”
Despite what that message says, there are three workarounds. This guide covers each method step by step, from the simplest to the most technical.
Video Tutorial
Prefer reading? Keep scrolling for all three methods below.
Why Change Your WordPress Username?
The most common reason is security. If your username is “admin” (WordPress’s old default), attackers already know half your login credentials. Brute force bots target predictable usernames first, so changing yours removes an easy attack vector.
Usernames to avoid:
- admin
- administrator
- root
- user
- test
- your domain name (e.g., “smartwp”)
Other reasons: you’re handing the site to a new owner, you made a typo during setup, or you want a username that matches your brand. Whatever the reason, pick the method below that fits your comfort level.
Which Method Should You Use?
| Method | Difficulty | Requires | Best For |
|---|---|---|---|
| Create new user + delete old | Easy | Admin access | Most users |
| Username Updater plugin | Easiest | Admin access | Quick one-time change |
| phpMyAdmin database edit | Advanced | Hosting panel access | Locked out of WordPress |
Method 1: Create a New User and Delete the Old One
This is the most reliable method and doesn’t require any plugins. You’ll create a new administrator account with your preferred username, then delete the old one.
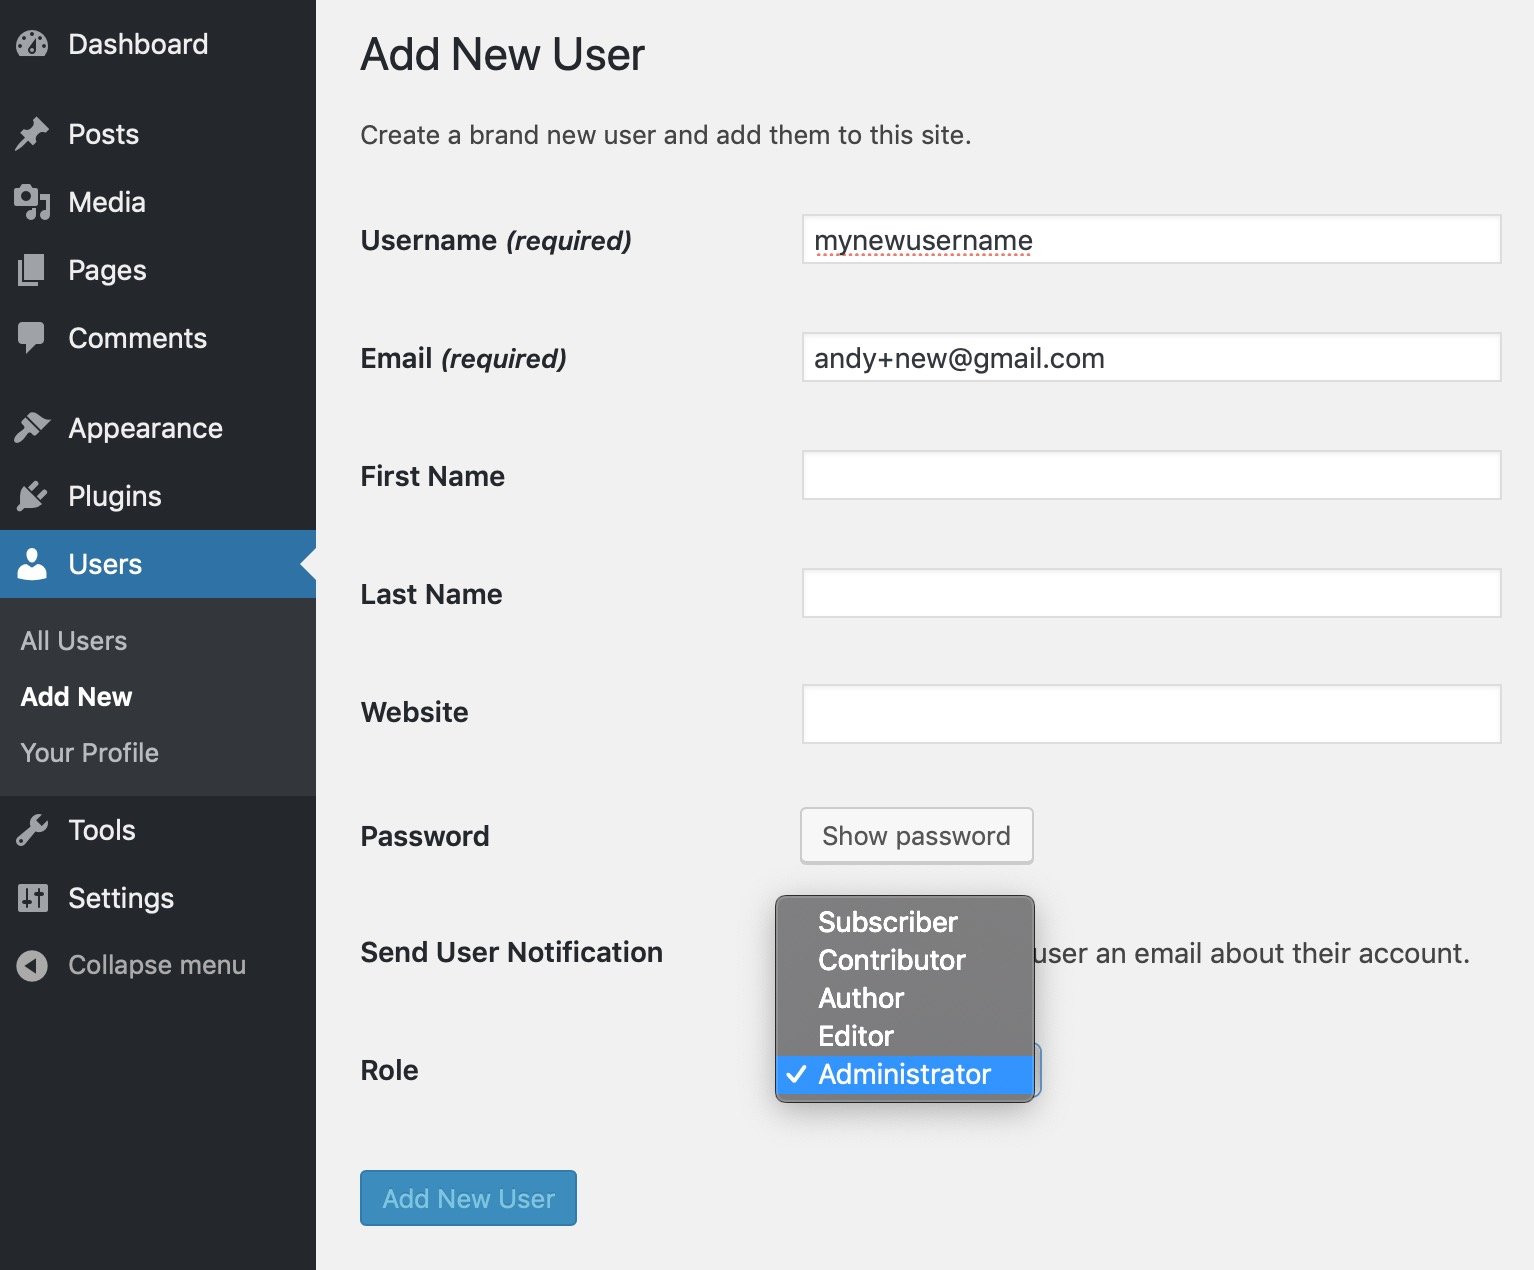
Step 1: Go to Users > Add New and create a new user with the Administrator role. Use a different email address than your current account. If you use Gmail, you can add a plus sign to reuse your address: [email protected] delivers to [email protected] but WordPress treats it as a separate email.
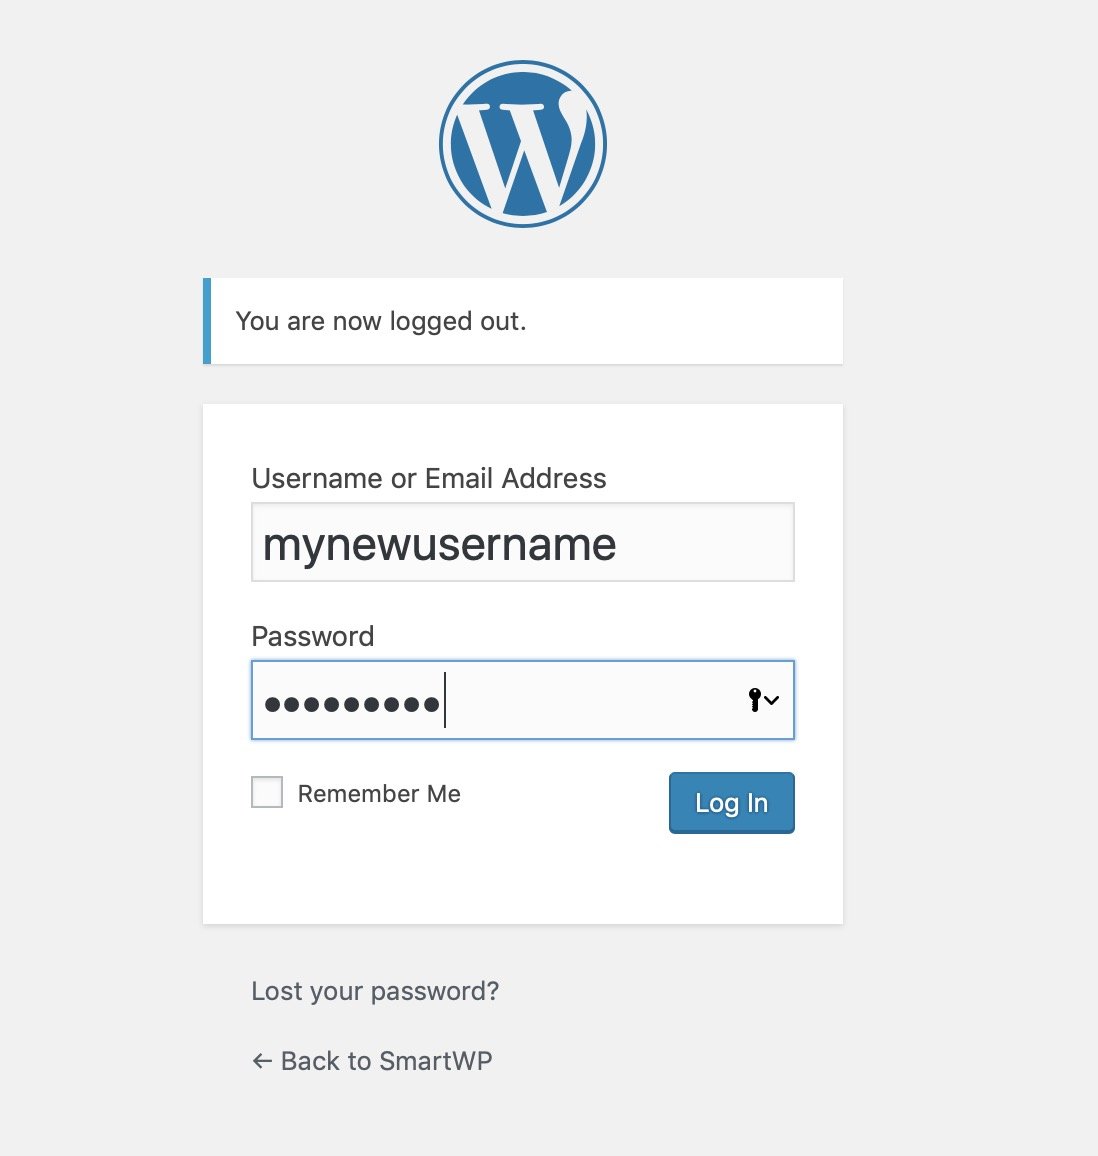
Step 2: Log out of your current account.

Step 3: Log back in with your new username.
Step 4: Go to Users, hover over your old username, and click “Delete.”
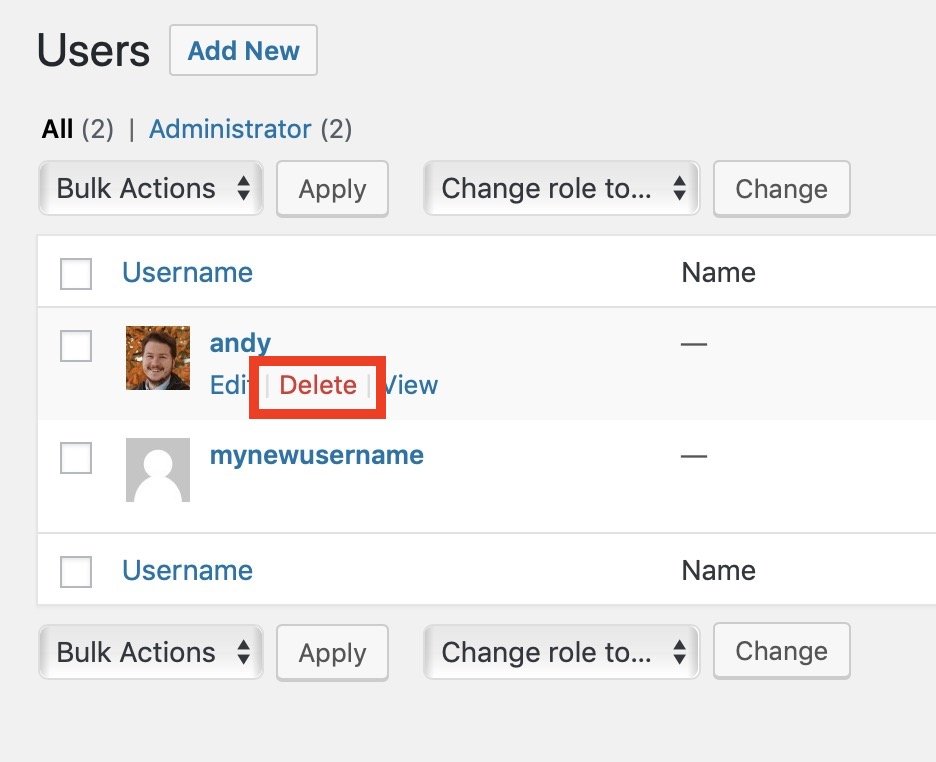
Step 5: When prompted, select “Attribute all content to” and choose your new username. This transfers all posts, pages, and media to the new account so nothing is lost.
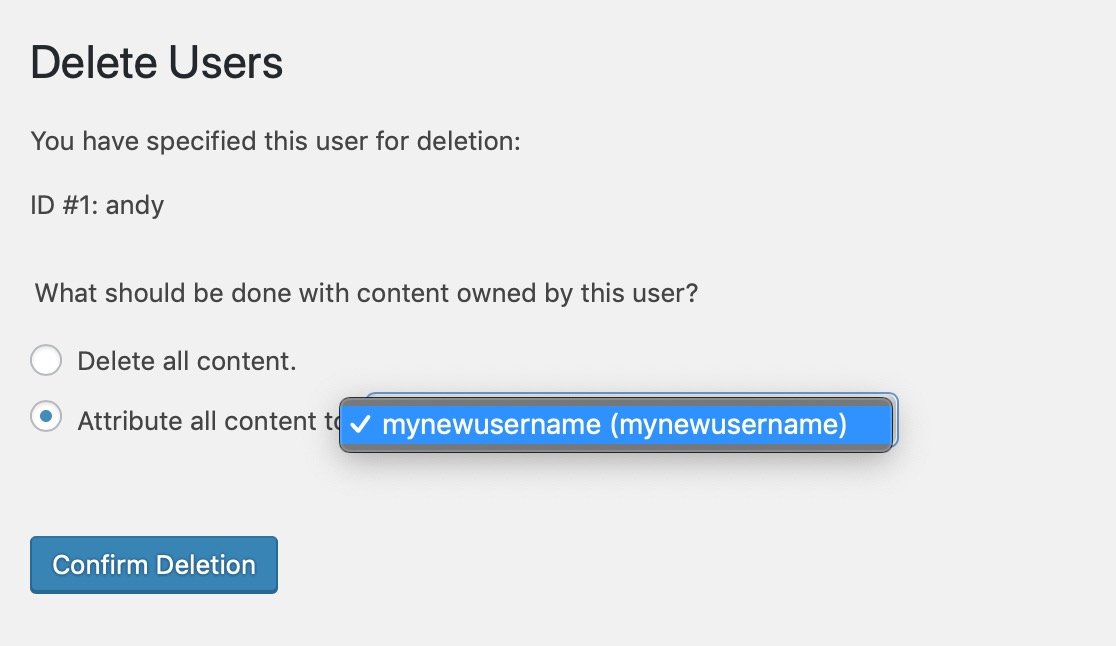
After confirming the deletion, you’re done. All your content now belongs to the new username.
Method 2: Use the Easy Username Updater Plugin
If you’d rather skip creating and deleting accounts, the Easy Username Updater plugin lets you change any username directly. Install the plugin, then go to Users > Username Updater.
You’ll see a list of all users on your site with an “update” button next to each one.
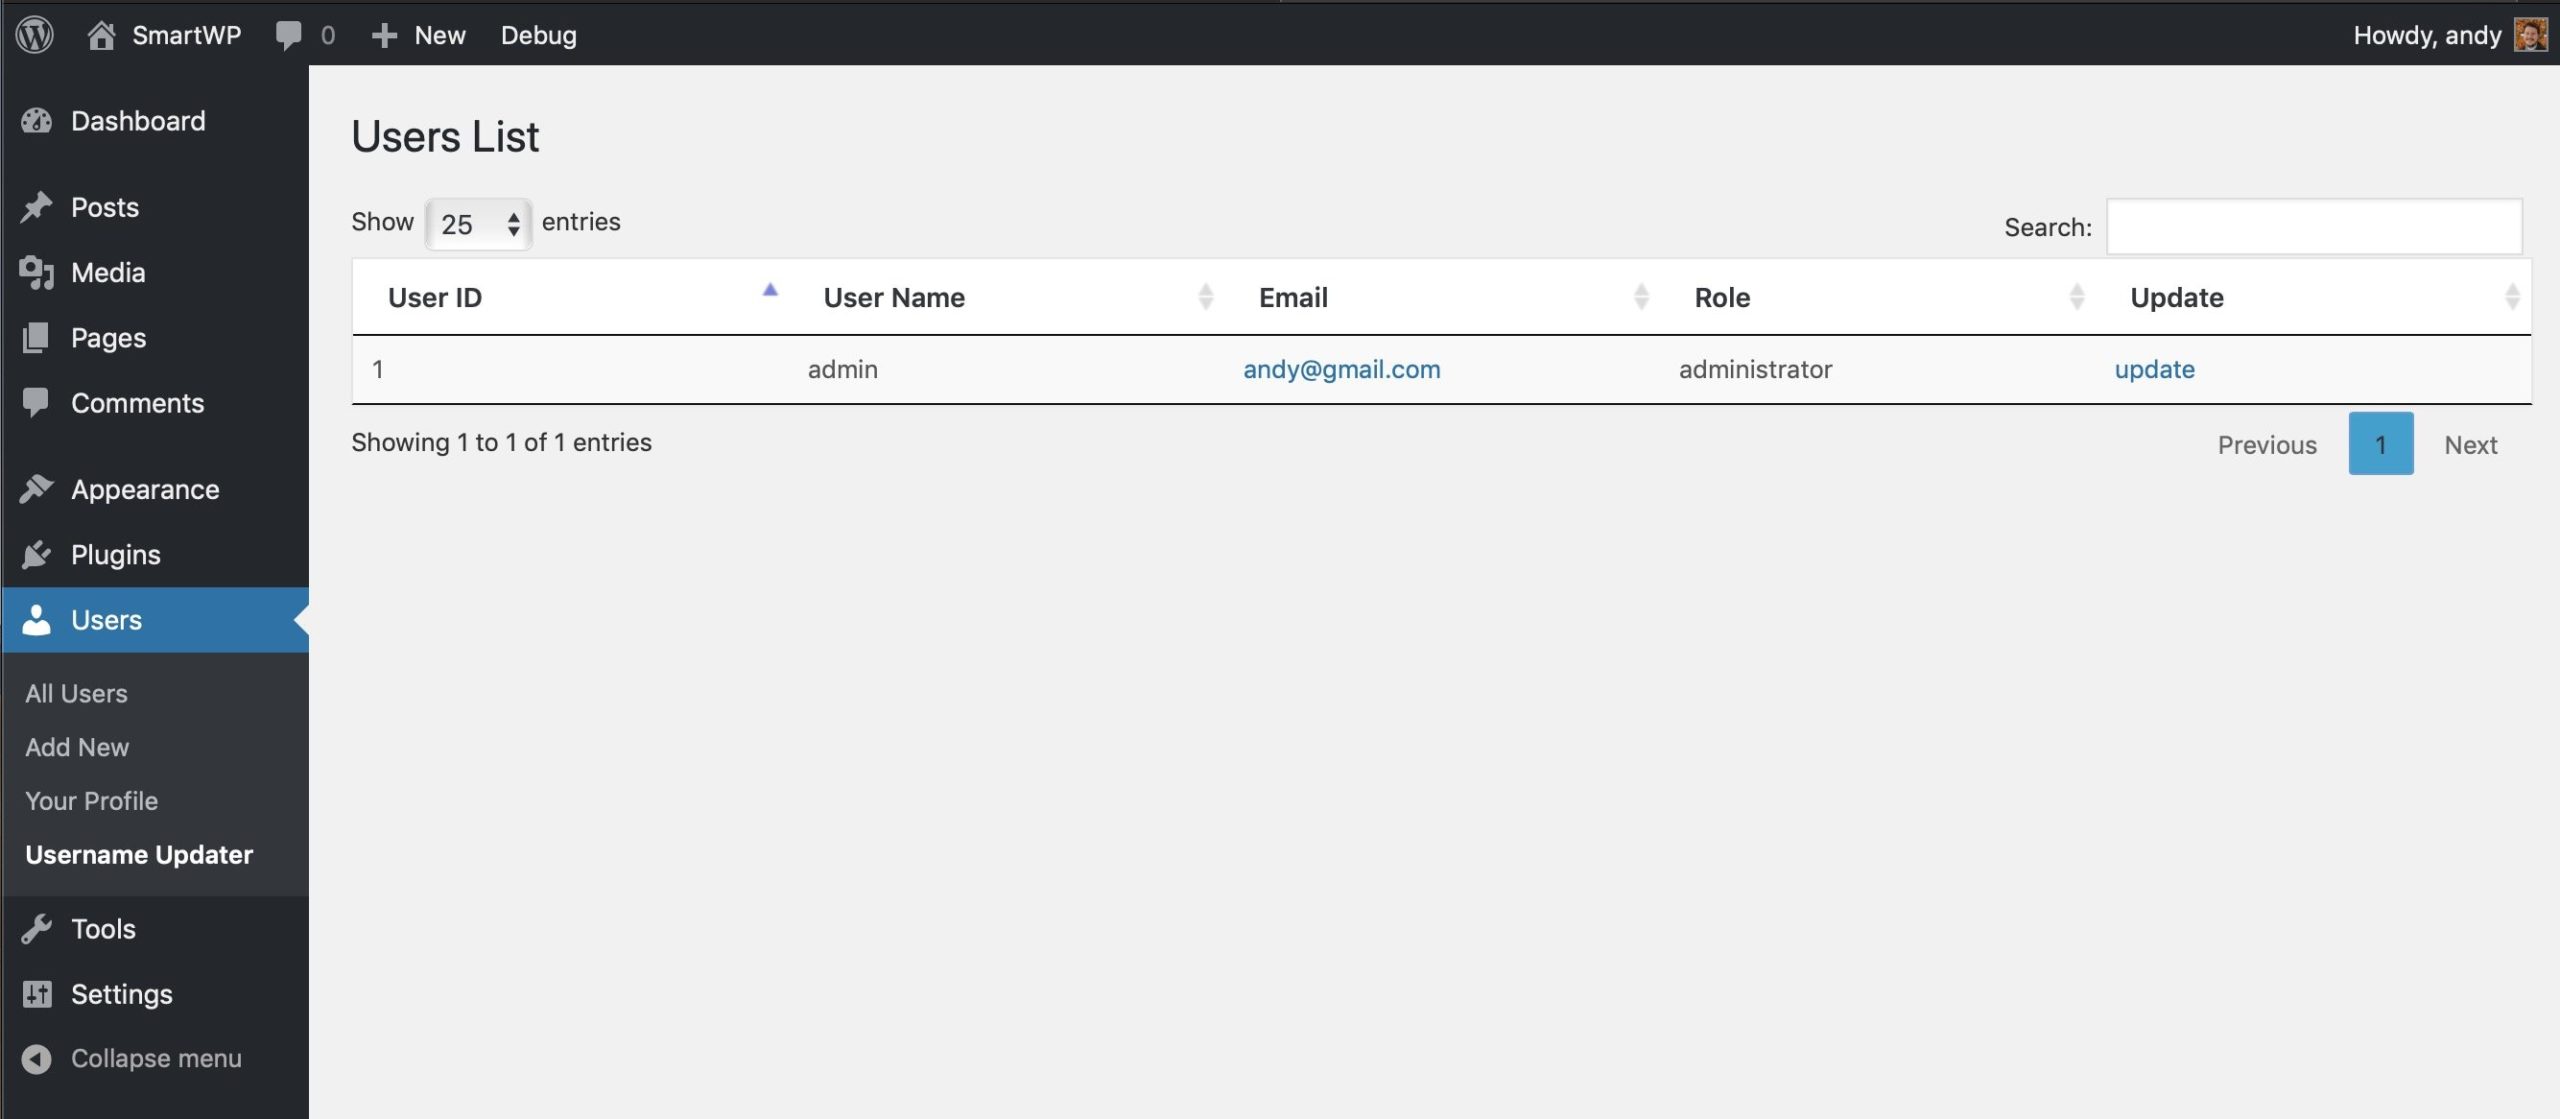
Click “update,” type the new username, and save. The plugin also gives you the option to email the user about the change, which is helpful on multi-author sites.

Log out and back in after the change to see it take effect. Once you’ve updated all the usernames you need, you can deactivate and delete the plugin since it’s only needed for this one-time task.
Method 3: Change Your Username via phpMyAdmin
This method edits your WordPress database directly. It’s the most technical option, but it’s your only choice if you’re locked out of the WordPress admin entirely (forgotten username and password, for example).
Back up your database before making any changes. Contact your hosting provider if you’re unsure how to access phpMyAdmin; most hosts (Bluehost, SiteGround, DreamHost) provide it through cPanel or their custom dashboard.
Step 1: Log in to your hosting control panel and open phpMyAdmin.
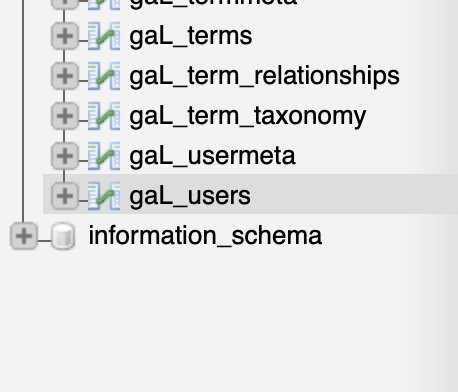
Step 2: Select your WordPress database, then click on the wp_users table. Note: some security plugins change the default wp_ prefix to a random string. Look for any table ending in _users.
Step 3: Click “Edit” next to the user you want to change. Update the user_login value to your new username and click “Go.”

Clear your browser cookies before logging in again to avoid session conflicts with the old username.
Troubleshooting
If you run into issues after changing your username, here are the most common fixes:
- Can’t log in after the change: Clear your browser cookies and cache, then try again. WordPress sessions are tied to the old username and can cause login failures.
- “Email already in use” error (Method 1): Use the Gmail plus trick (
[email protected]) or a temporary second email address. - Posts show the wrong author: Make sure you selected “Attribute all content to” when deleting the old account. If you missed it, reassign posts under Users > All Users by using the bulk edit feature.
- Author archive URL didn’t change: WordPress uses the
user_nicenamefield for author URLs, notuser_login. Update it separately in phpMyAdmin if needed.
Frequently Asked Questions
Can You Change a WordPress Username Without a Plugin?
Yes. Method 1 (create new user, delete old one) and Method 3 (phpMyAdmin) both work without any plugins. Method 1 is the easiest no-plugin approach.
Is Changing Your Username the Same as Changing Your Display Name?
No. Your username (user_login) is what you type to log in. Your display name is what appears publicly on posts and comments. You can change your display name anytime under Users > Profile without any workarounds. The username is what WordPress locks down.
Will Changing My Username Break Anything?
For most sites, no. Your posts, pages, and settings stay intact. The one thing to watch: if you use plugins that store the username in their settings (some membership or e-commerce plugins do), test after the change to confirm everything still works. Also, if you use passkeys or two-factor authentication, you may need to re-register those credentials with the new username.
That covers all three ways to change your WordPress username. For most people, Method 1 (creating a new admin account) is the safest and simplest option. Use the plugin method if you want something even faster, and save phpMyAdmin for situations where you’re locked out entirely.


2 Responses
For absolute beginners, the plugin method is best. Because if they delete any database table by mistake, their website will break. I have used the Username Editor plugin to change my username recently. Because it provided me a lot of options like password confirmation before password reset and access control. There are other cool things that I liked about the plugin.
Anyway, the article is well written and the teaching method of yours is awesome.
Thanks for making this available.
Wow, finally changed my suspicious-looking username that was awarded by my hosting company!